You notice it again — a few more strands on your pillow, in the shower, or tangled in your comb. You sigh and tell yourself it’s normal, but deep down, you know something’s off.
Stress has quietly become part of everyday life, and your hair is one of the first places it shows. When your mind is tense, blood flow to the scalp slows down, hormones fluctuate, and hair roots weaken.
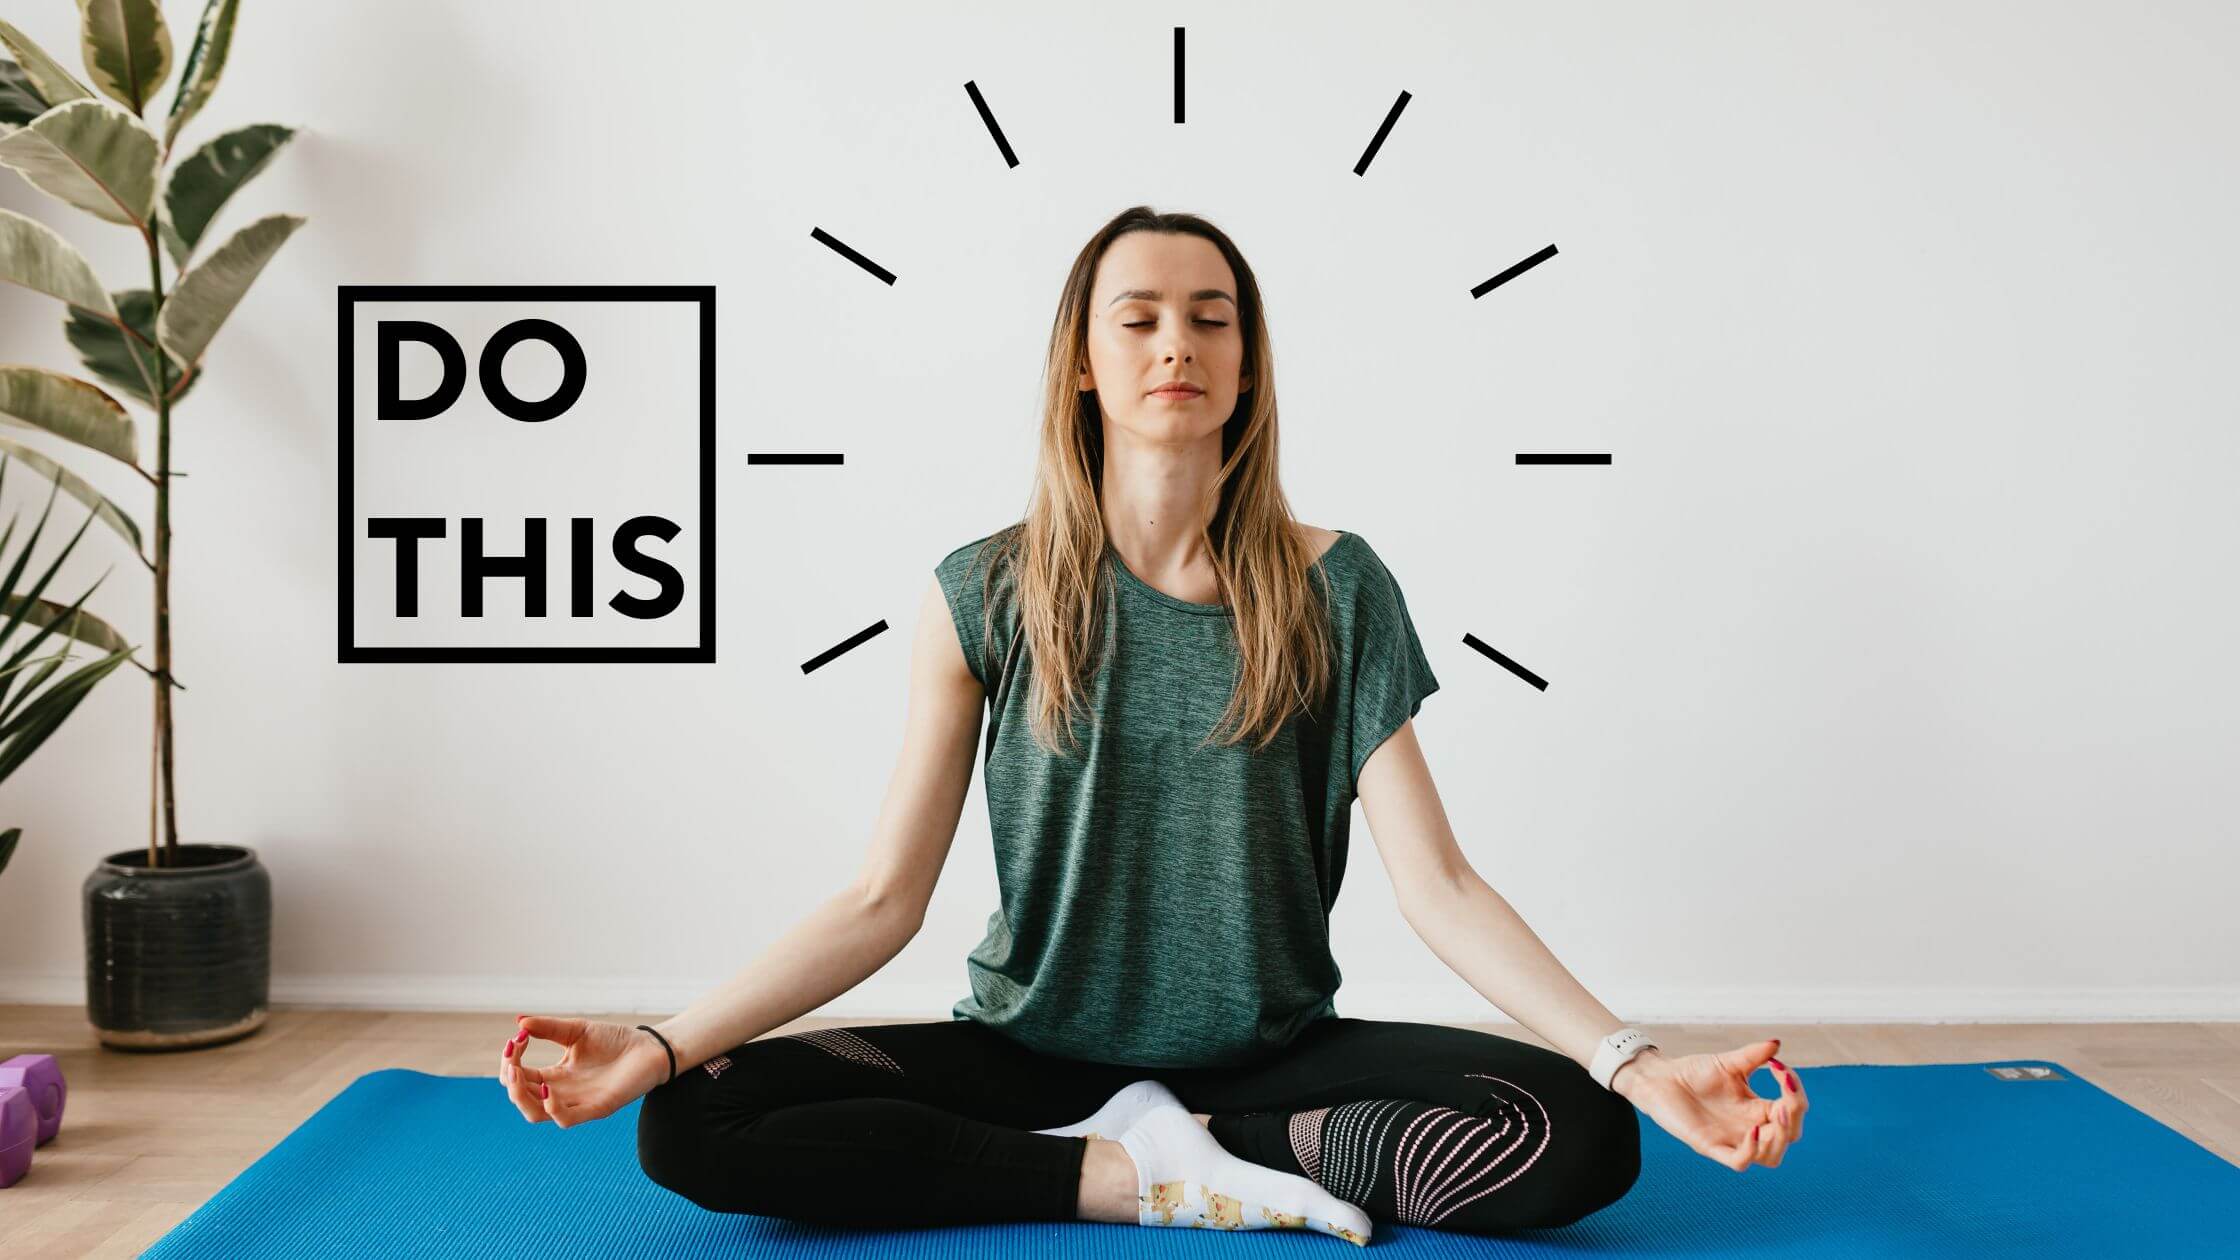
The good news? Yoga offers a peaceful, natural solution. These five yoga poses can help you release stress, improve scalp circulation, and reduce hair fall — all from the comfort of your home.
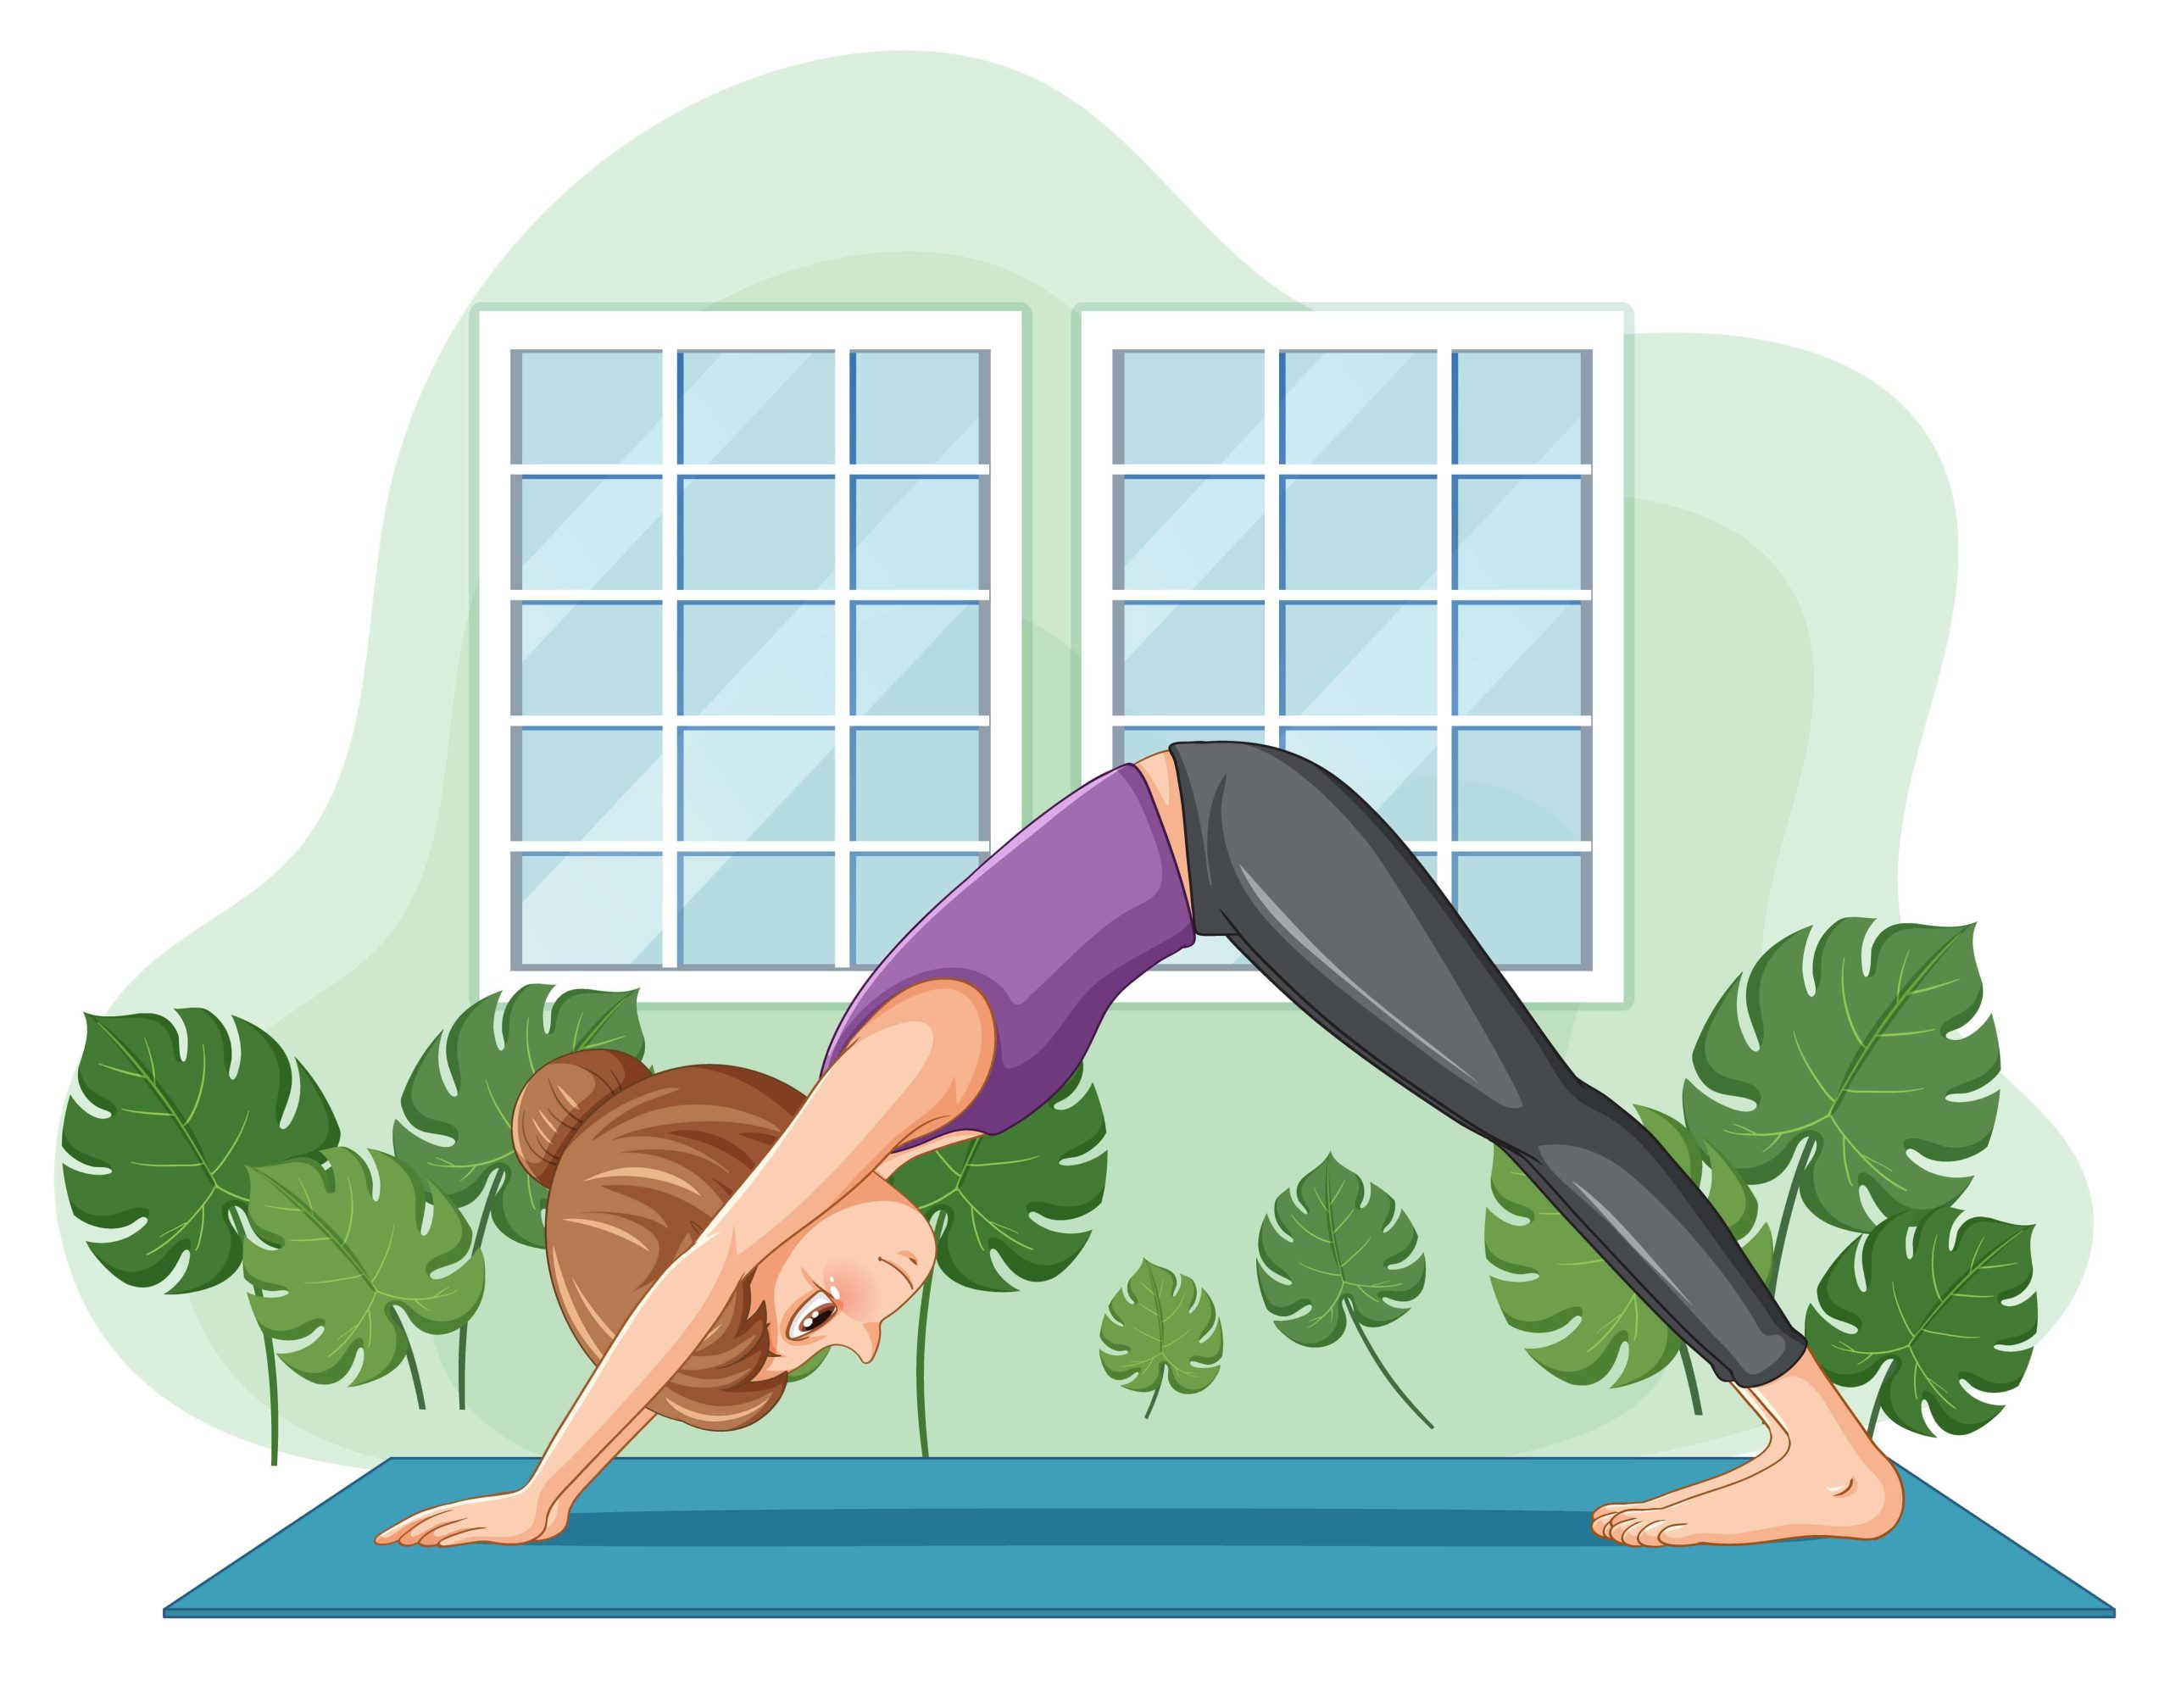
1. Adho Mukha Svanasana (Downward-Facing Dog Pose)
Adho Mukha Svanasana is a basic yoga pose where your body forms an inverted “V” shape — hands and feet on the ground, hips lifted high.
It strengthens your arms, shoulders, and legs while stretching your back and improving blood circulation.
How to do:
- Start on all fours — hands and knees on the floor (tabletop position).
- Place your hands slightly ahead of your shoulders and spread your fingers wide.
- Tuck your toes under.
- Exhale and lift your knees away from the floor.
- Straighten your legs as much as possible and push your hips up toward the ceiling.
- Press your heels gently toward the ground (they don’t need to touch).
- Keep your head between your upper arms, ears aligned with arms.
- Hold for 30 seconds to 1 minute while breathing deeply.
- Exhale and gently bring your knees down to return to the starting position.
Benefits:
- Boosts blood circulation to the scalp.
- Relieves neck and shoulder tension caused by stress.
- Energizes the mind and body.
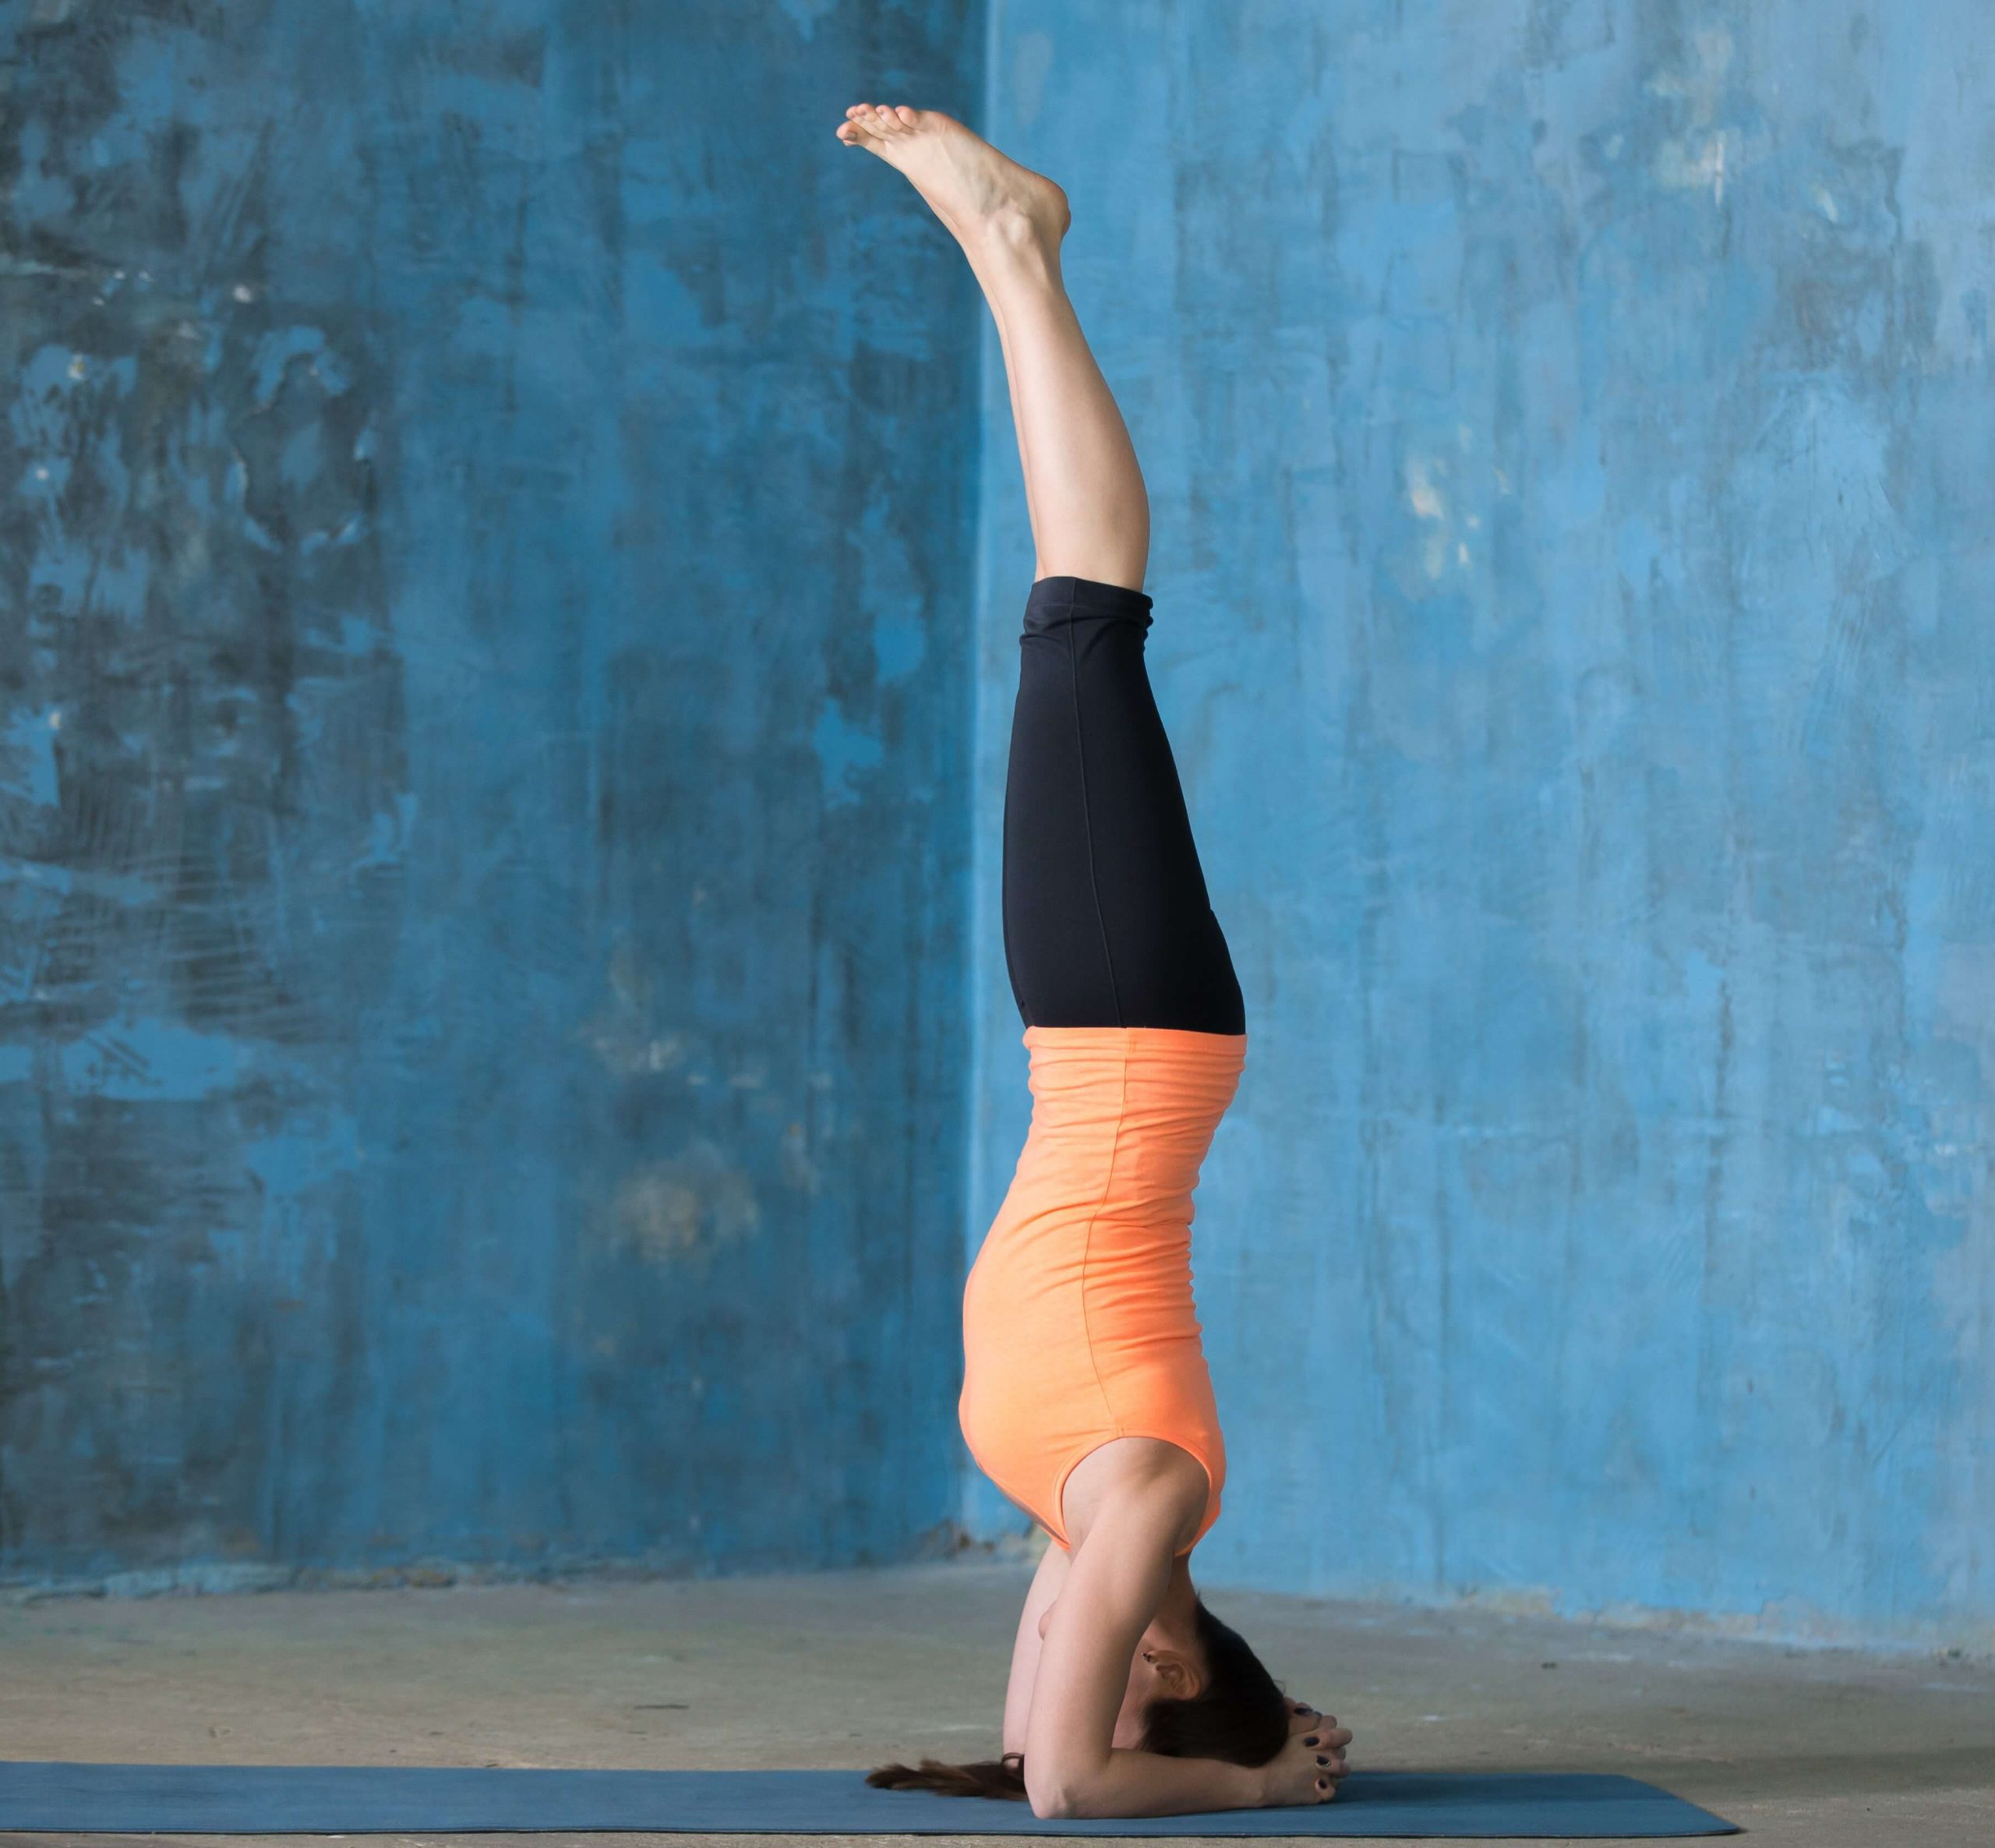
2. Sirsasana (Headstand)
Sirsasana is known as the “King of Yoga Poses” because it improves balance, focus, and blood flow to the brain.
It’s an inverted pose where you balance your body on your head and forearms, with your legs lifted straight up toward the ceiling.
How to do:
⚠️ Do this near a wall if you’re a beginner to prevent falling. Best is practice under supervision if you’re new to headstands.
- Start in a kneeling position.
- Sit on your heels and rest for a moment.
- Interlock your fingers.
- Place your forearms on the floor with elbows shoulder-width apart.
- Interlock your fingers to form a triangle base.
- Place your head on the floor.
- The top (crown) of your head should rest lightly on the mat.
- The back of your head should touch your hands for support.
- Lift your knees off the floor.
- Straighten your legs and walk your feet closer toward your head until your hips are above your shoulders.
- Lift your legs up slowly.
- Bend your knees and draw them toward your chest.
- Then, straighten both legs upward together.
- Keep your body straight and balanced.
- Hold the position.
- Breathe slowly and stay steady for 10–30 seconds (increase gradually with practice).
- Come down slowly.
- Bend your knees and gently lower your feet back to the floor.
- Rest in Child’s Pose (Balasana) for a few breaths.
Benefits:
- Increases blood flow to the scalp and strengthens hair roots.
- Promotes mental clarity and focus.
- Balances hormones and reduces hair thinning.
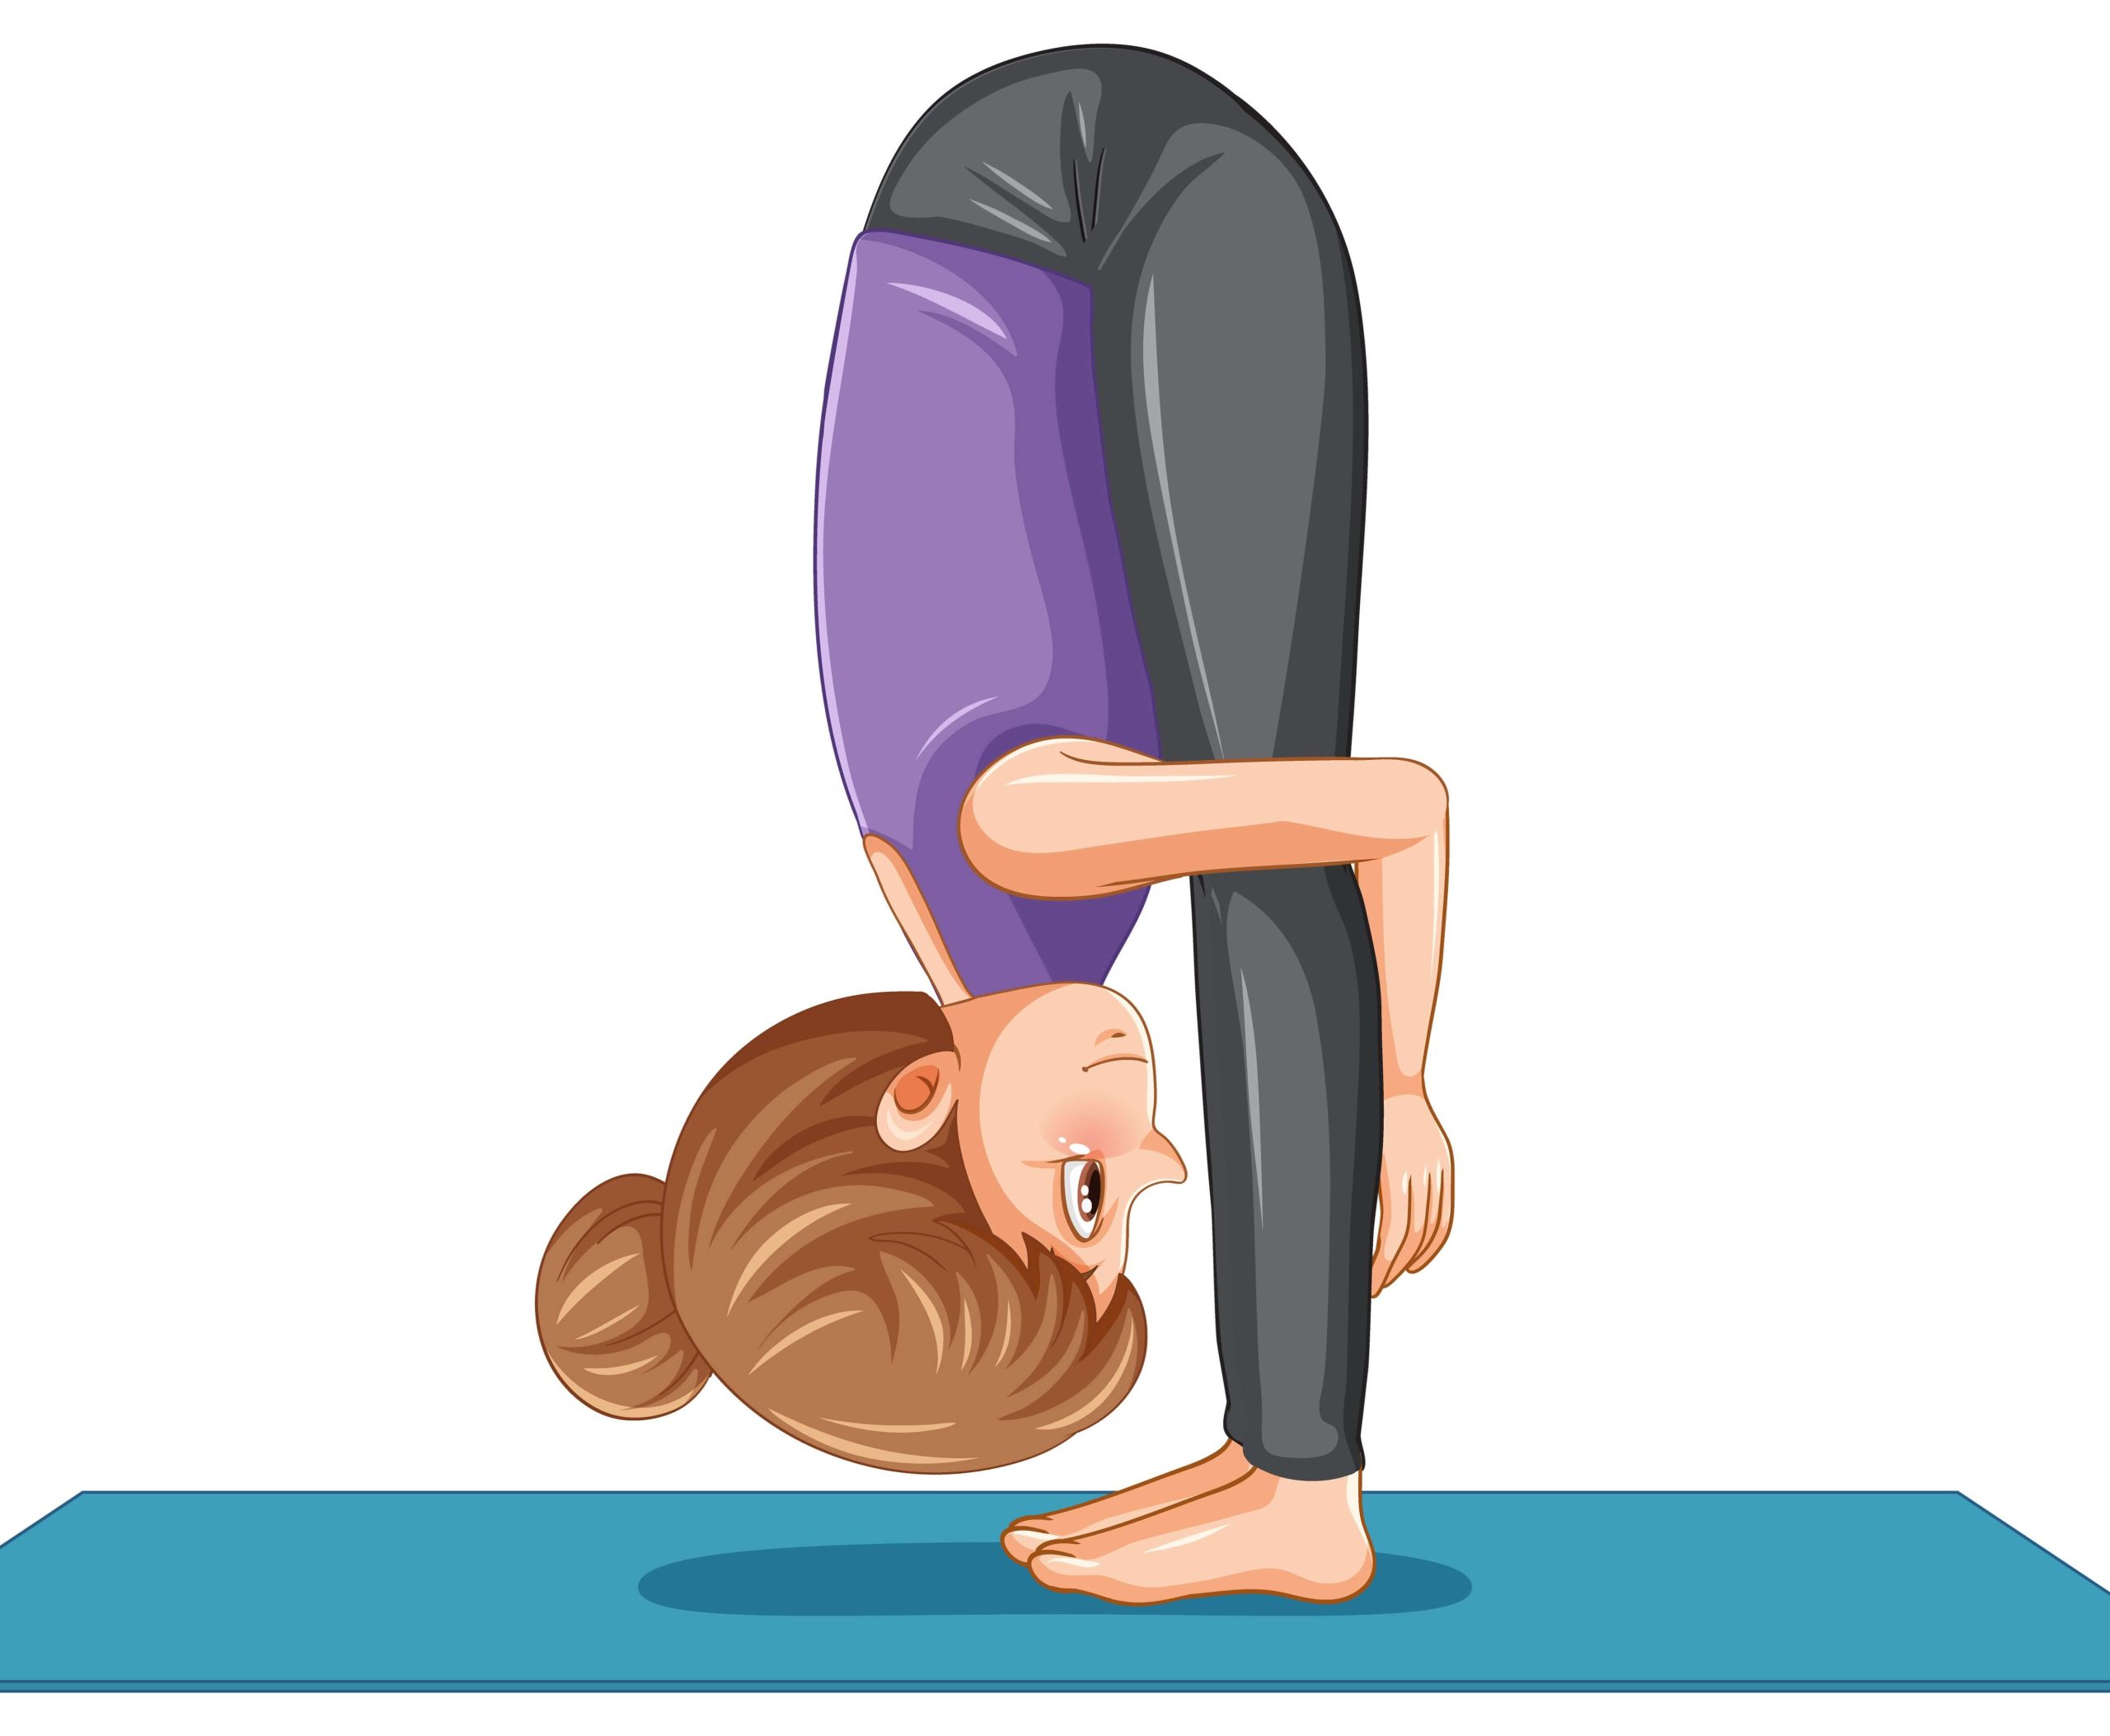
3. Uttanasana (Standing Forward Bend)
It’s a standing yoga pose where you bend forward from the hips and let your upper body hang over your legs.
This pose deeply stretches your hamstrings, calves, and spine, while calming your mind.
How to do:
1. Start in Tadasana (Mountain Pose)
- Stand tall with feet together, arms at your sides.
- Keep your spine straight and shoulders relaxed.
2. Inhale and raise your arms overhead.
- Stretch your body upward.
3. Exhale and bend forward from your hips.
- Keep your back straight as you begin to fold.
- Avoid bending from your waist.
4. Let your hands reach the floor.
- Place palms beside your feet or hold your ankles/shins (wherever comfortable).
- If you can’t touch the floor, slightly bend your knees.
5. Relax your head and neck.
- Let them hang naturally toward the ground.
- Keep breathing deeply.
6. Hold the pose for 20–30 seconds.
- Feel the stretch in your legs and back.
7. Inhale and come up slowly.
- Roll your spine up one vertebra at a time to return to standing.
Benefits:
- Calms the mind and reduces anxiety.
- Improves oxygen flow to the head.
- Refreshes the nervous system and scalp.
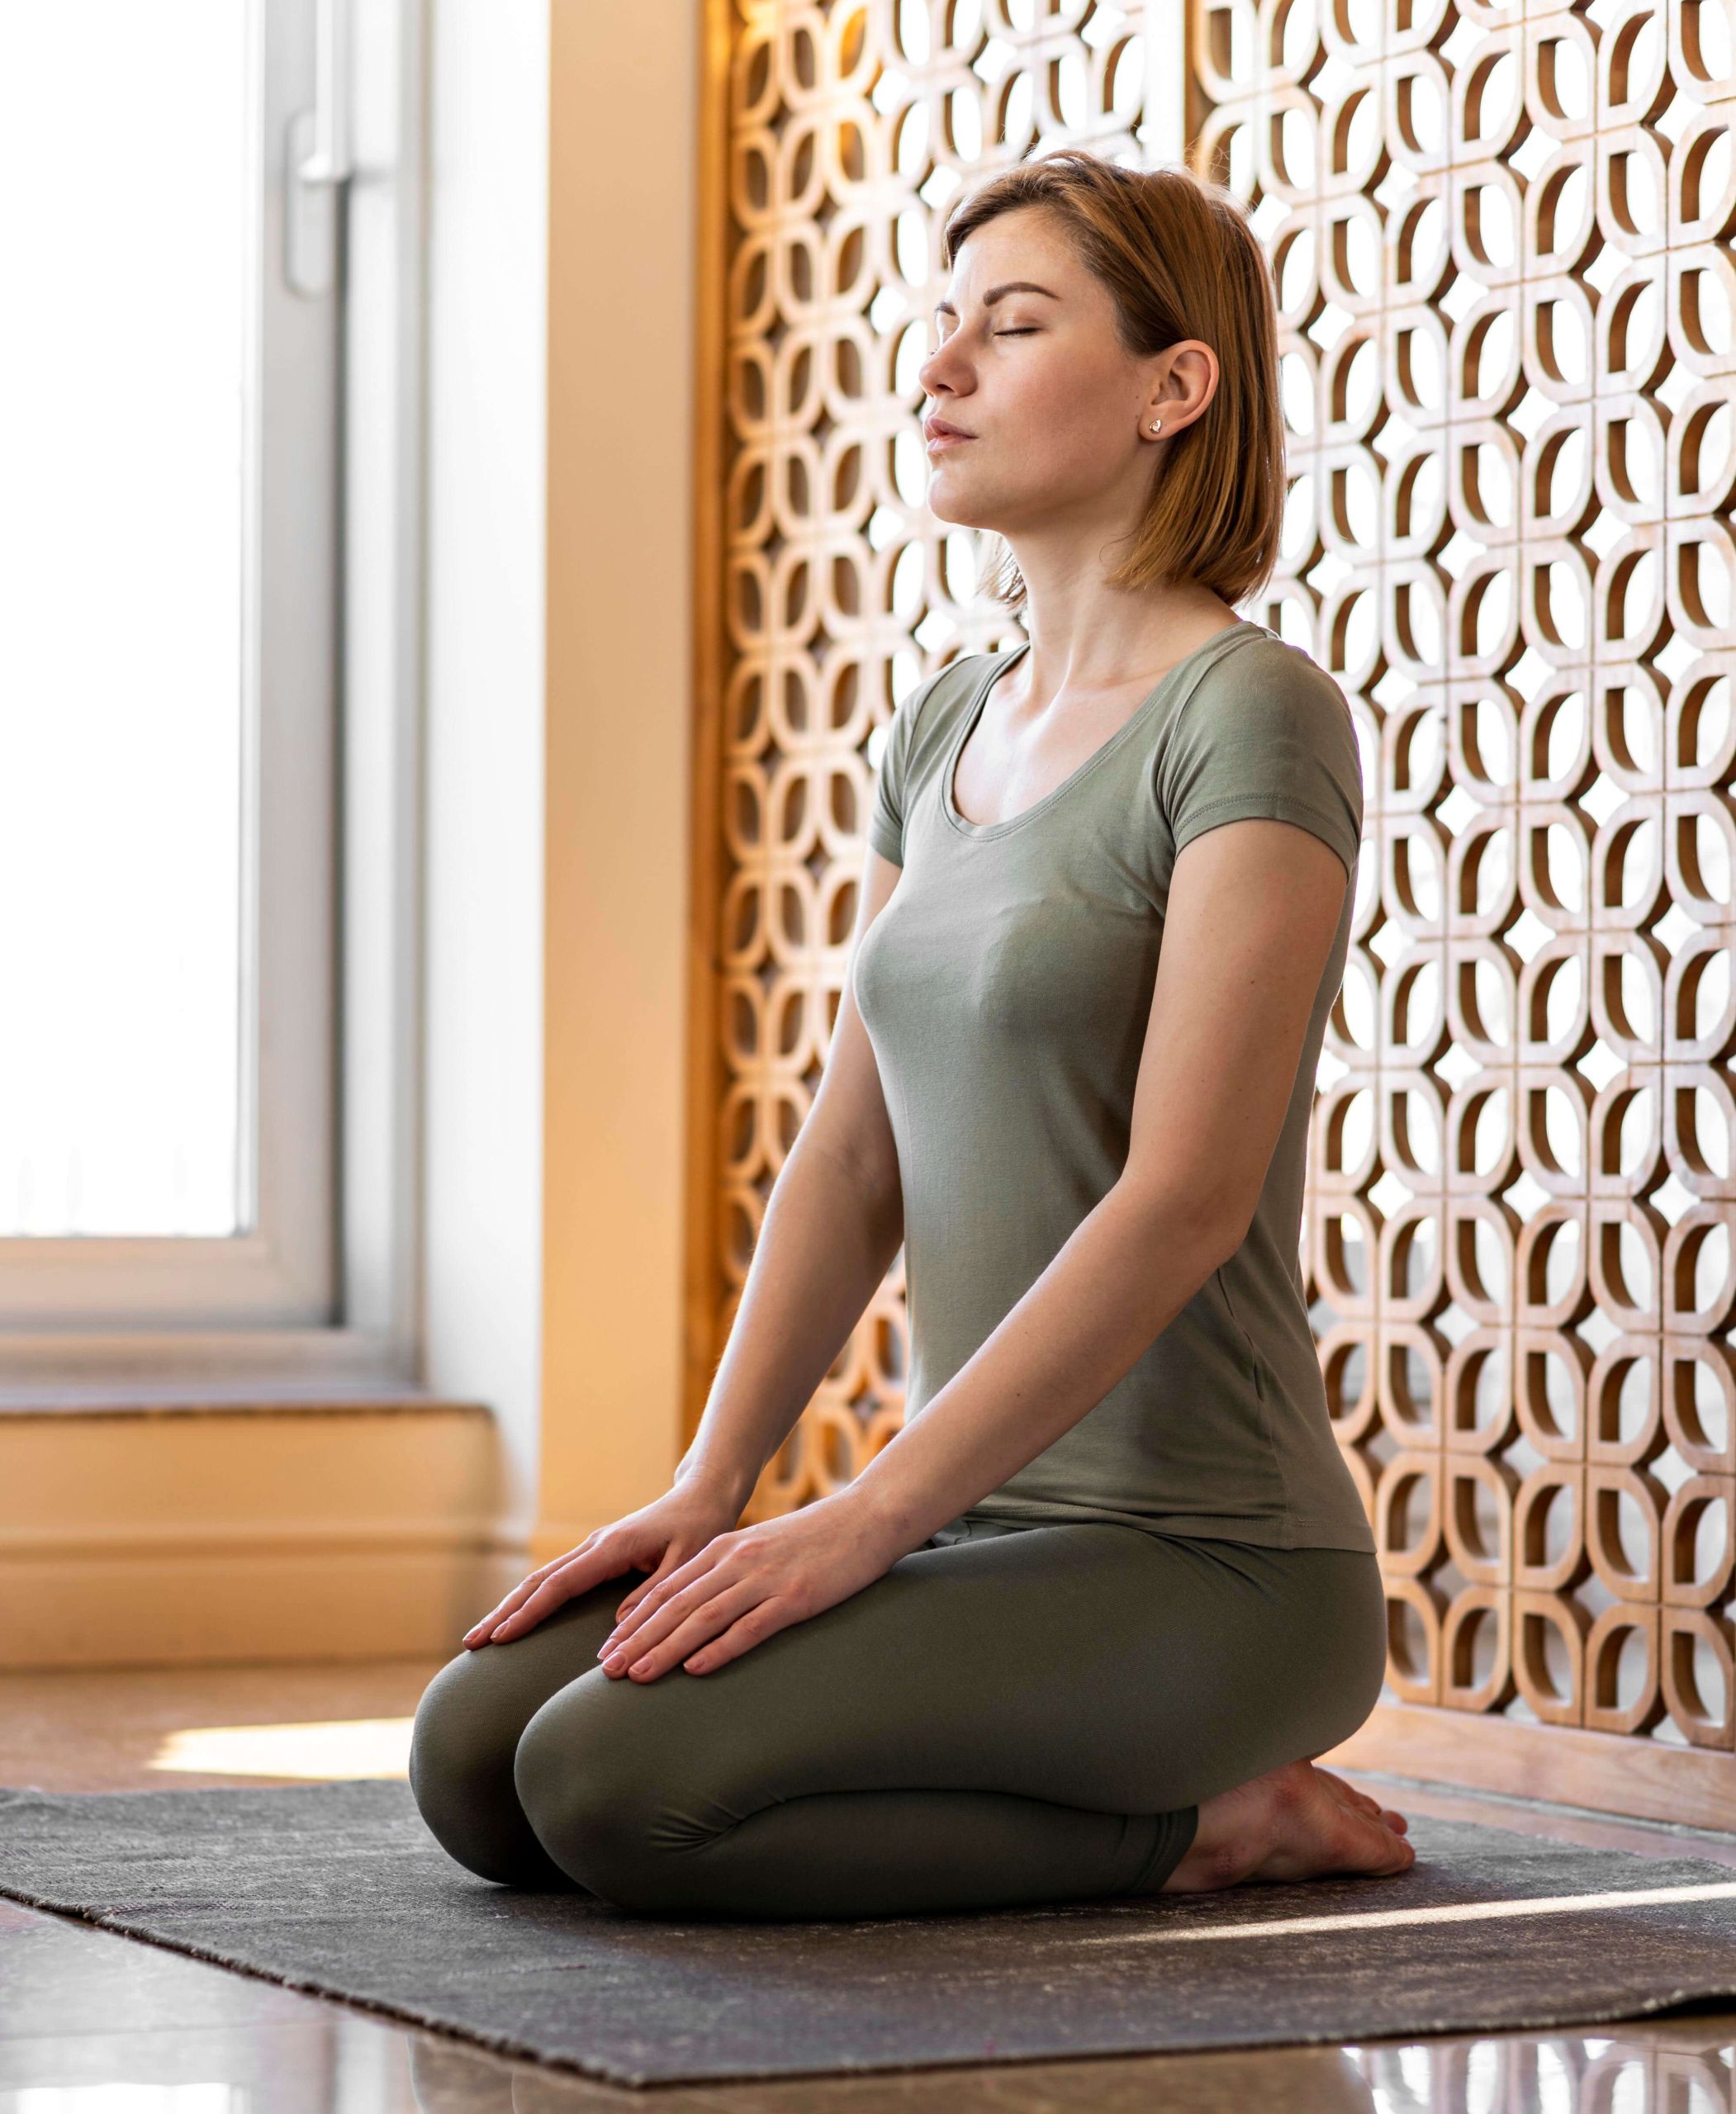
4. Vajrasana (Thunderbolt Pose)
Vajrasana is a basic seated yoga posture where you kneel and sit on your heels.
It’s one of the few poses that can be done right after eating, as it helps digest food and calm the mind.
The word Vajra means “thunderbolt” or “diamond” — symbolizing strength and stability.
How to do:
1. Start by kneeling on the floor.
- Keep your knees close together and your toes touching.
- Heels should point outward slightly.
2. Sit back on your heels.
- Your buttocks rest on your heels, and thighs rest on your calves.
3. Keep your back straight.
- Spine upright, head aligned with the back.
- Relax your shoulders and place your hands on your thighs (palms down).
4. Breathe normally.
- Close your eyes and take slow, deep breaths.
- Stay in the position for 5–10 minutes (start with 2–3 minutes if new).
5. To release,
- Slowly lean forward and stretch your legs out to relax.
Benefits:
- Aids digestion, which indirectly supports hair health.
- Calms the nervous system and relieves stress.
- Easy to do after meals — great for beginners.
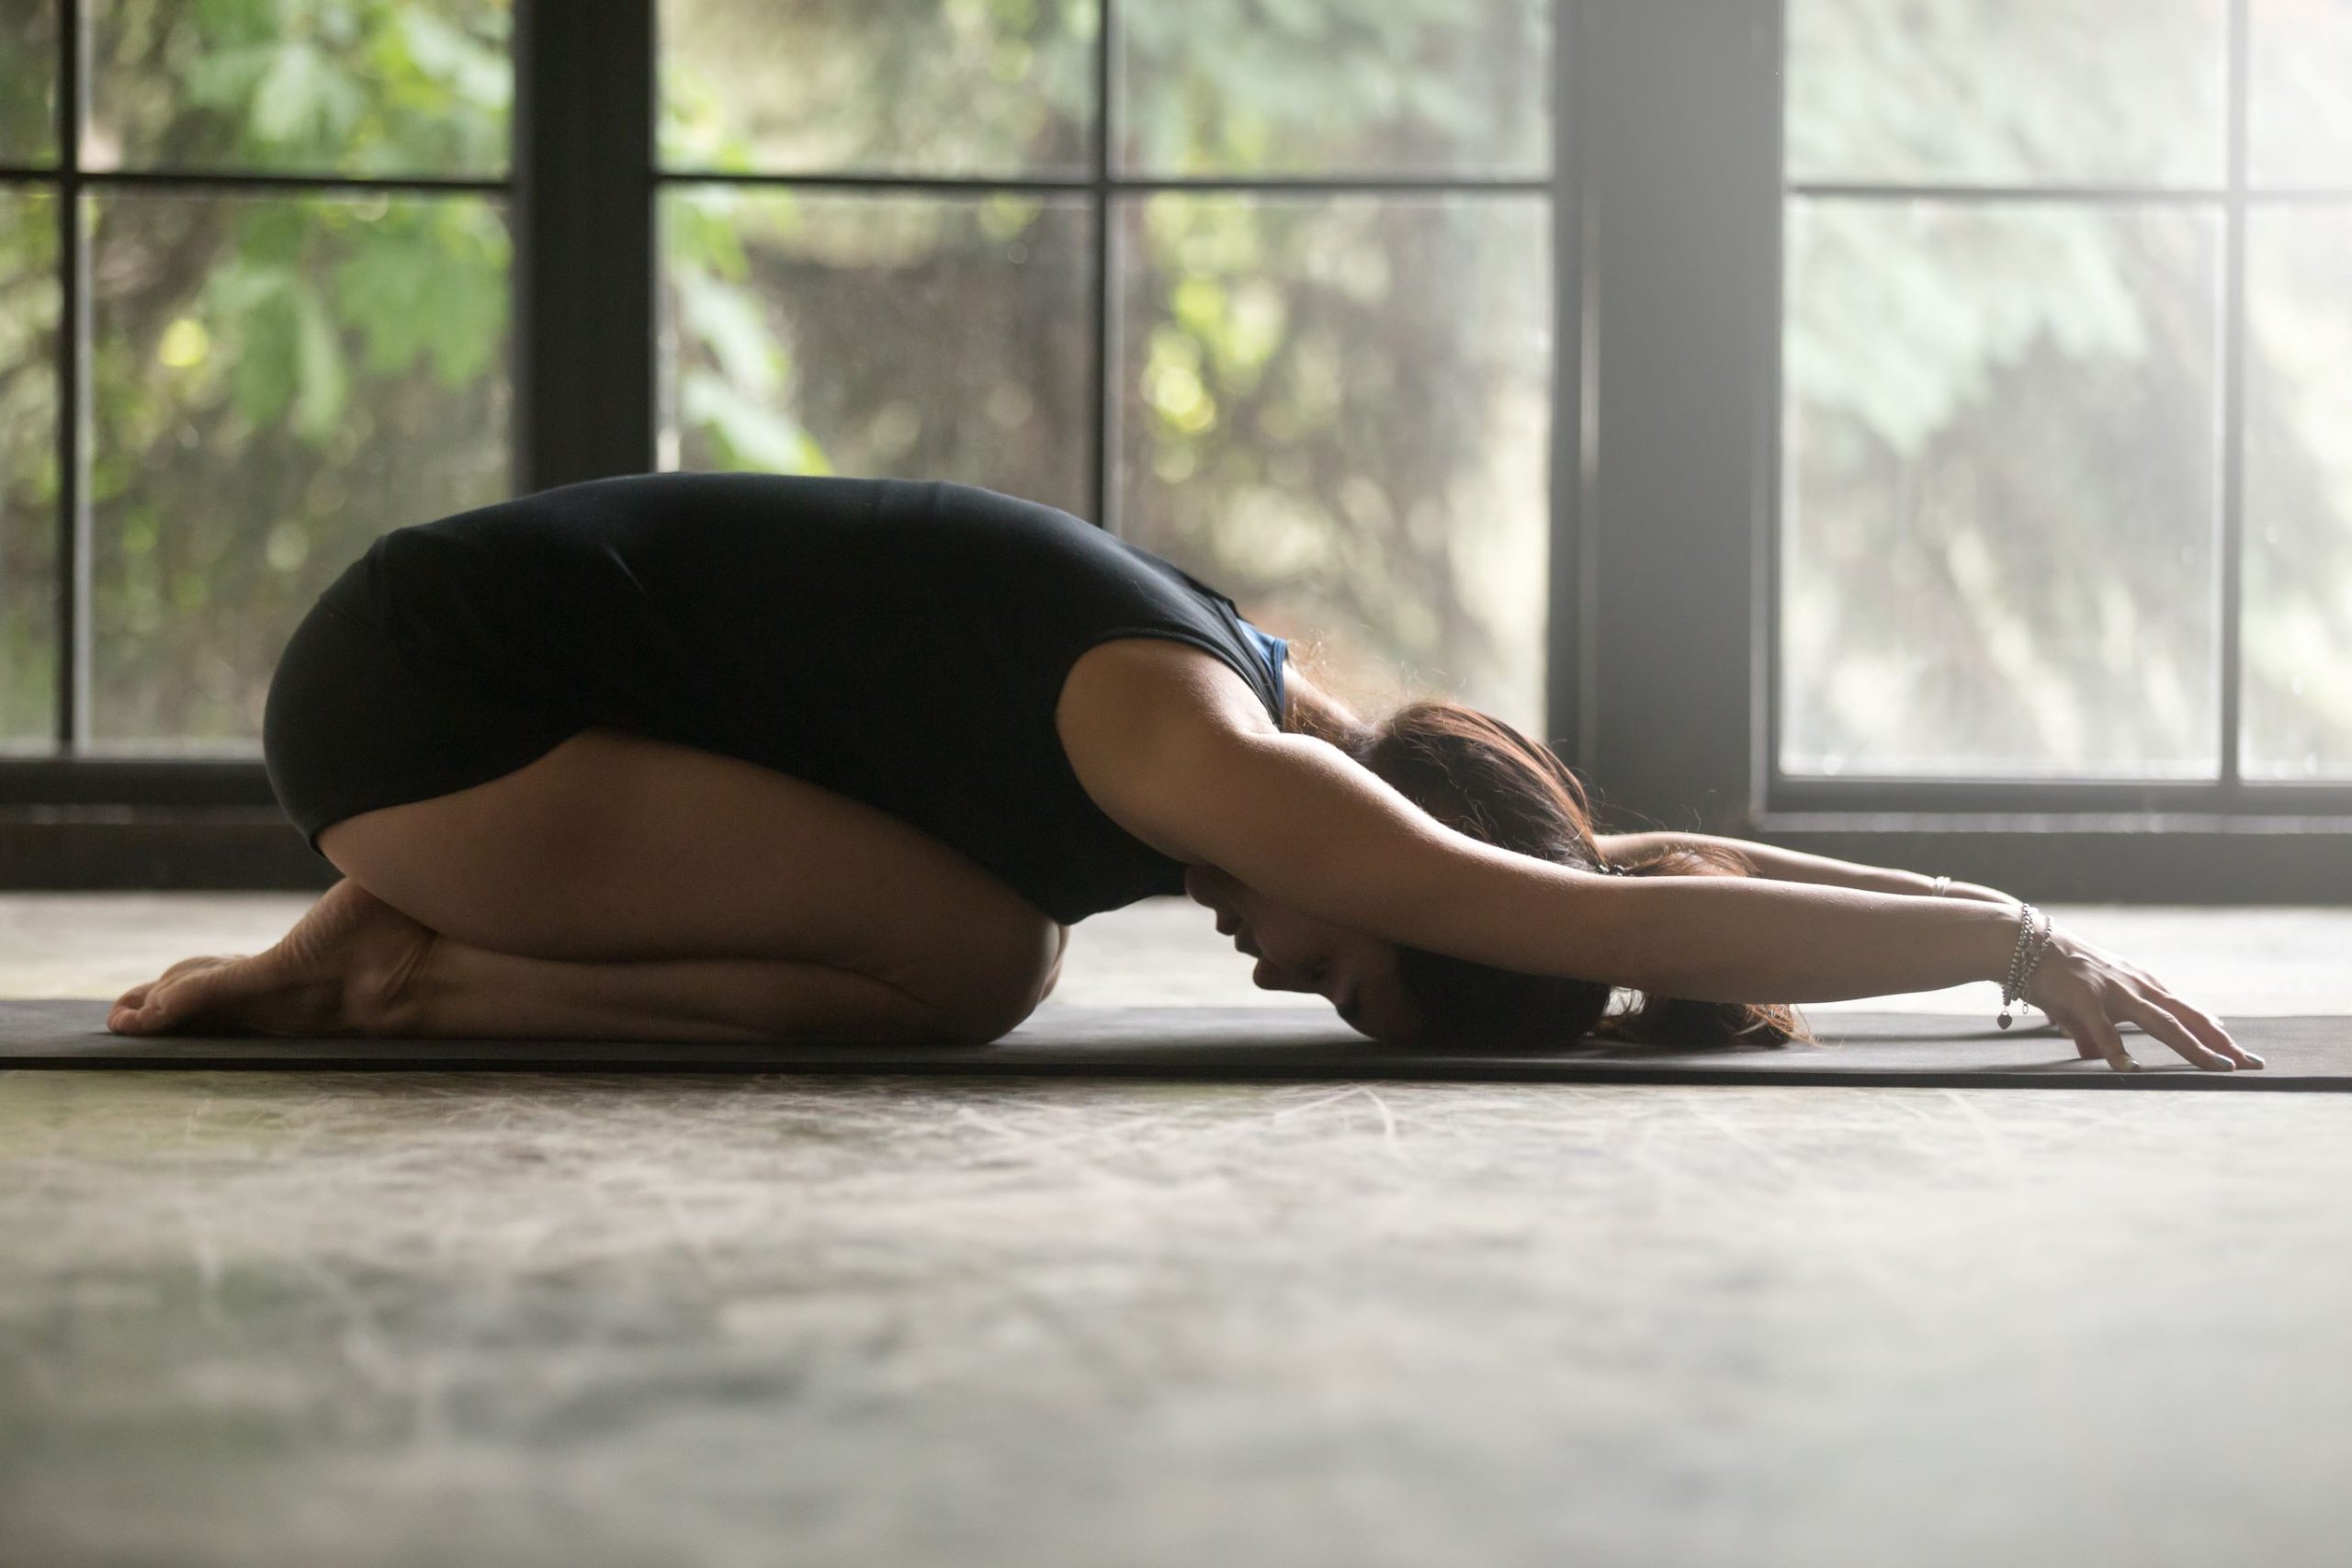
5. Balasana (Child’s Pose)
Balasana comes from the Sanskrit word “Bala” meaning child, and “Asana” meaning pose.
It’s a resting yoga posture that resembles the fetal position of a child.
This pose gently stretches the back, hips, and thighs while helping you relax and release tension — often used as a resting pose between more active yoga postures.
How to do:
1. Start in a kneeling position.
- Sit on your heels with your knees together (or slightly apart for comfort).
2. Inhale deeply.
- Lengthen your spine upward to prepare.
3. Exhale and fold forward.
- Bring your forehead down to the mat.
- Let your chest rest between your thighs.
4. Stretch your arms forward.
- Place your palms on the floor, reaching as far forward as comfortable.
- (Alternatively, you can keep your arms alongside your body, palms facing up, for a more relaxing version.)
5. Relax completely.
- Close your eyes and breathe slowly and deeply.
- Feel your body melting into the mat.
- Stay in the pose for 30 seconds to 2 minutes or longer if it feels good.
6. To release:
- Inhale slowly and lift your head and torso back up to a seated position.
Benefits:
- Relieves fatigue and emotional tension.
- Promotes relaxation and better sleep.
- Gently stretches the spine and shoulders.
Now these are the 5 yoga poses you wanna do to release your stress, and calm you mind and brain and body. The best time for these yoga is Early morning (before sunrise) or evening (sunset). And always on an empty stomach or at least 3 hours after a meal.
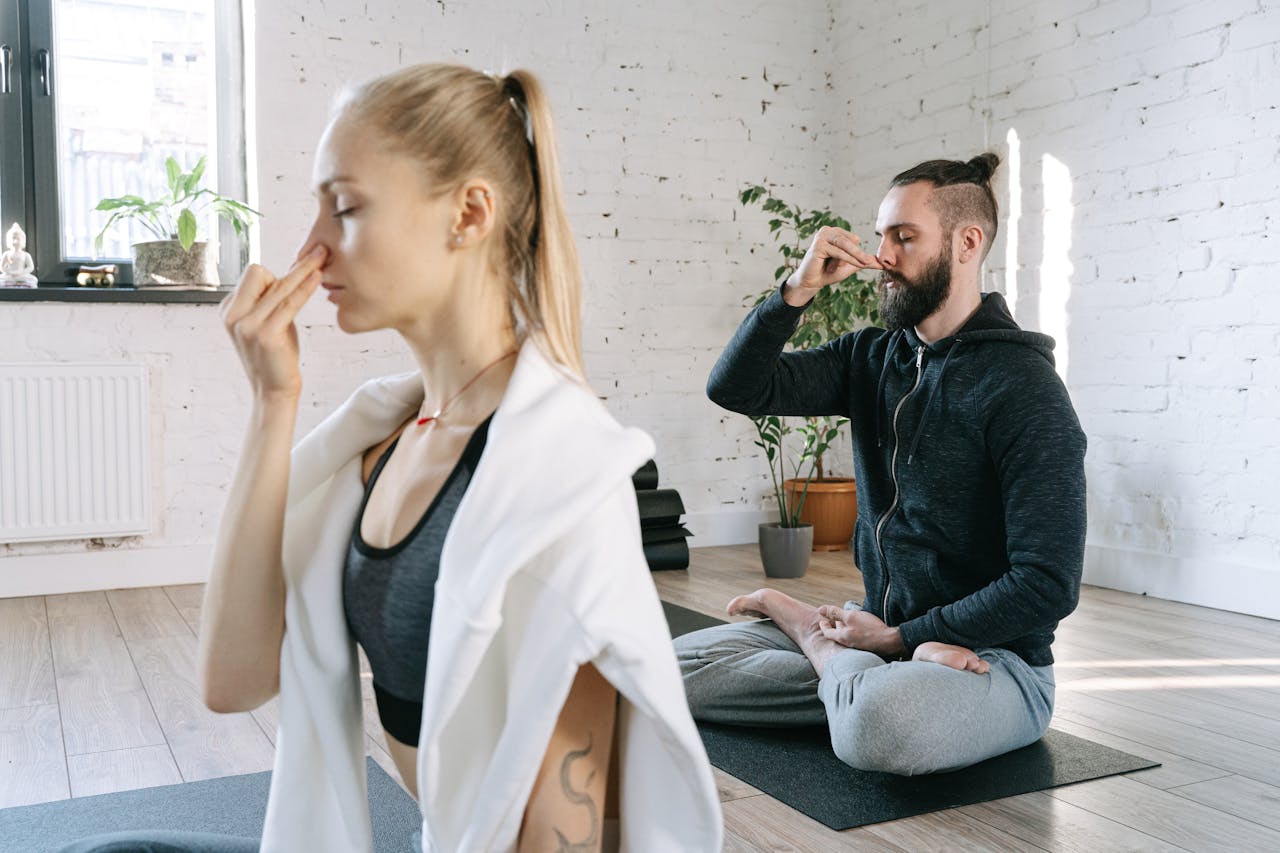
You did your 5 yoga? Now here is another one for you best. The Pranayama (Breathing Exercises). Try these simple breathing techniques daily for 10 minutes. It supports hormonal balance and hair growth. Also helps you to Reduces stress and anxiety and Improves oxygen flow to the scalp. In this yoga asan has two part. One is Anulom Vilom (Alternate Nostril Breathing) and the other one is Bhramari Pranayama (Humming Bee Breath). How to do these two?
Anulom Vilom (Alternate Nostril Breathing)
Anulom Vilom is a yogic breathing exercise where you inhale through one nostril and exhale through the other. It balances the left (cooling) and right (heating) energy channels, promoting mental clarity and relaxation.
- Sit Comfortably
- Sit in a quiet place in a cross-legged position (like Sukhasana or Padmasana).
- Keep your spine straight and shoulders relaxed.
2. Hand Position (Vishnu Mudra)
- Use your right hand:
- Fold your index and middle fingers toward your palm.
- Use your thumb to close your right nostril.
- Use your ring finger to close your left nostril.
- Rest your left hand on your knee (in Gyan Mudra if you wish).
3. Begin Breathing
- Step 1: Close your right nostril with your thumb, and inhale slowly through the left nostril.
- Step 2: Now close your left nostril with your ring finger, open your right nostril, and exhale slowly through the right.
- Step 3: Next, inhale through the right nostril, close it, open the left, and exhale through the left.
This completes one full round.
Continue for 5–10 minutes
- Keep your breathing smooth and steady—no strain.
- Focus on your breath or silently chant “So… Hum” (inhale “So”, exhale “Hum”).
Bhramari Pranayama (Humming Bee Breath)
“Bhramari” means “bee” in Sanskrit. In this practice, you make a humming sound like a bee while exhaling. It vibrates through your head and calms the nervous system.

1. Sit Comfortably
- Sit in a quiet place, back straight, shoulders relaxed.
- Close your eyes and take a few normal breaths.
2. Hand Position (Shanmukhi Mudra)
- Close your ears with your thumbs.
- Place your index fingers on the forehead just above your eyebrows.
- Place your middle and ring fingers gently over your eyes.
- Place your little fingers just below your nostrils or lips (optional).
3. Breathing Process
- Take a deep breath in through your nose.
- As you exhale slowly, make a low-pitched humming sound like a bee (“mmmmmm…”).
- Feel the vibration in your head and chest.
Repeat for 5–7 rounds
- Keep your mind focused on the sound.
- Let the vibration soothe your thoughts.
These two are for extra care you wanna defenetly give to your hair. Now here is the final thoughts
Calm Mind, Strong Hair
Beautiful hair begins with a peaceful mind.
By practicing these yoga poses regularly, you can reduce stress, improve circulation, and restore your body’s natural balance — helping your hair grow stronger and healthier.
So, roll out your mat, take a deep breath, and let yoga bring calm to your mind and life to your hair. 🌿
You May Like: Stress and Hair Fall: Why It Happens and How to Stop It Naturally